Posted on Leave a comment

Unboxing a Bernina/Horn Luxe Plus Table

I recently purchased a new Bernina table. It is branded and sold through Bernina, but the original manufacturer is Horn. My husband and I handled moving it from the store to the sewing room. Here’s some information on our experience unboxing the table and setting it up.

For the lawyers: Note that this information is NOT officially endorsed by either Berrnina or Horn, and although everything here is correct to the best of our abilities, it is not guaranteed to be accurate or current. Read and act on this information at your own risk, we accept no responsibility for your unboxing experience.

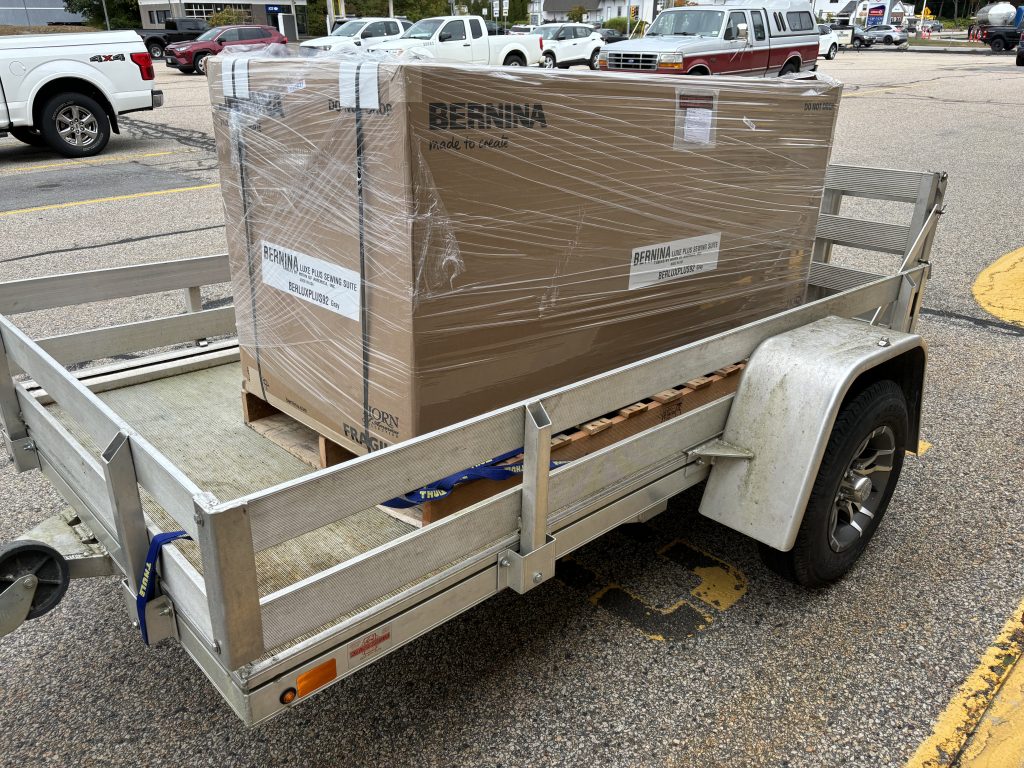
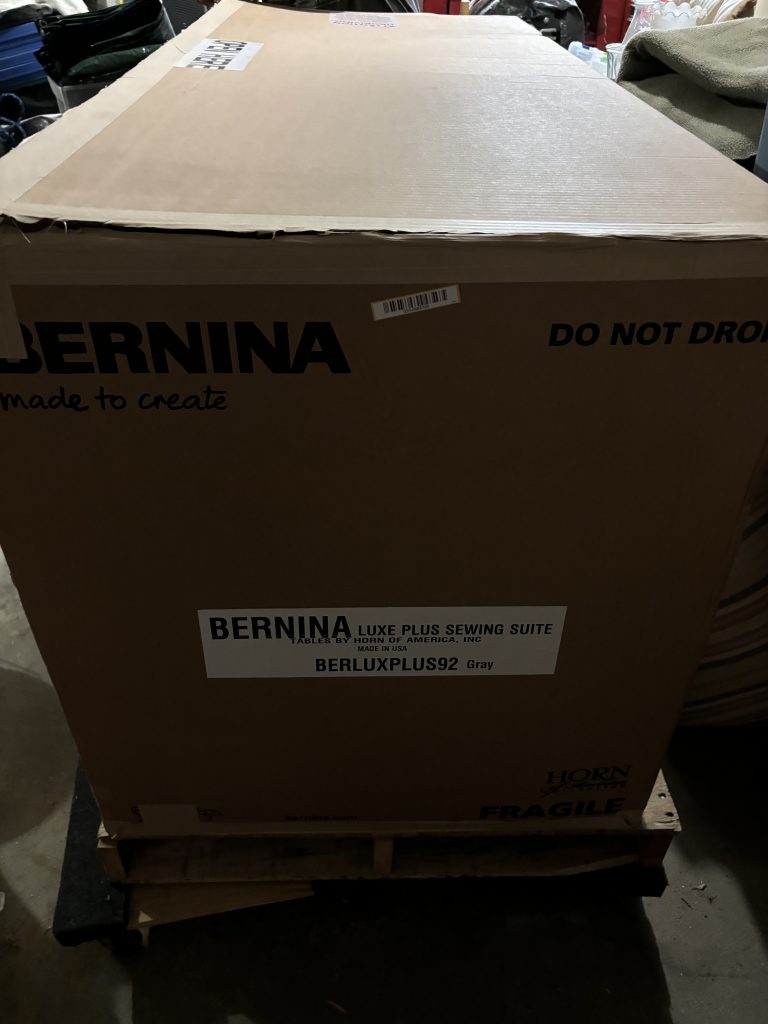
The table arrives completely assembled, in a box strapped to a pallet. According to the shipping information, the total weight is 390 pounds. About 60 pounds of that is the pallet. It is VERY HEAVY.

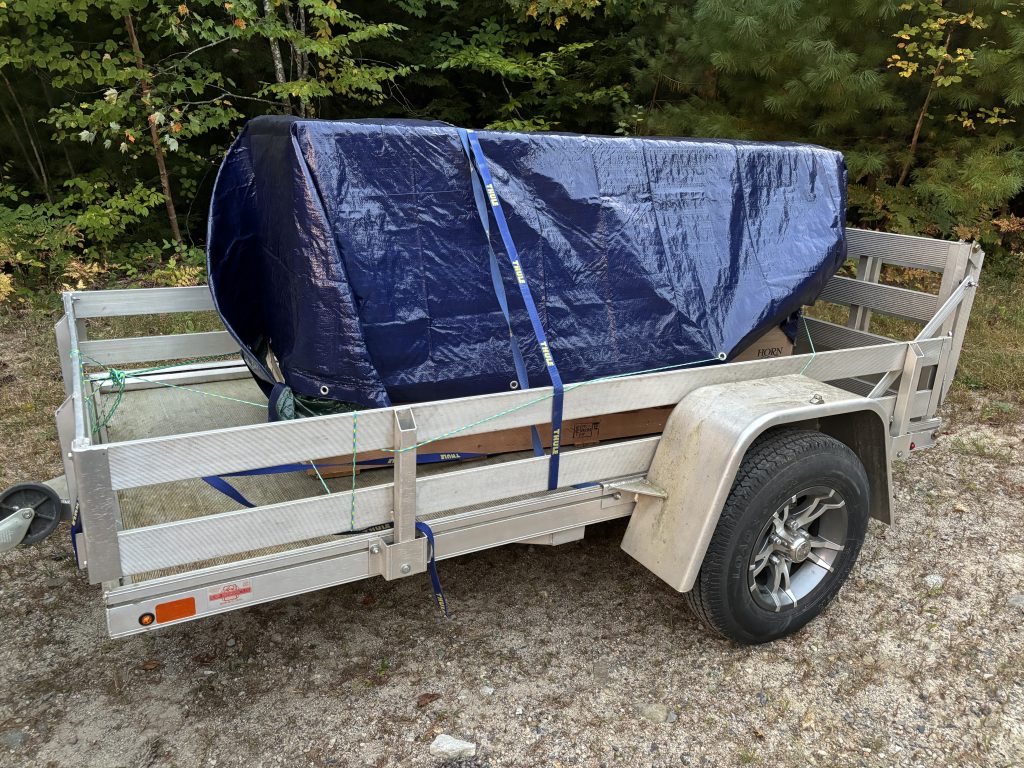
We brought a couple of moving dollies, and that worked well for getting it out of the store and behind the trailer in the parking lot. Getting it onto the trailer proved to be fairly difficult, as we couldn’t roll it on. Luckily a couple of bystanders noticed our struggles and the 4 of us managed to hoist one end of it up onto the trailer, then we pushed it on from there. We strapped it down and started the 1 hour drive home. About 15 minutes later, it started to rain, so we stopped and bought a tarp, and covered the box.

At home, getting it off of the trailer in the garage was easier because gravity was working for us. We just needed to slide it off the trailer and give it a gentle landing on the dollies. After we rolled it into position in the garage, we took the dollies out, opened the top of the box, got the instructions and started the unboxing process. Damage and missing pieces are expected to be reported within a short time of pickup, so we went ahead and unboxed it as soon as possible.

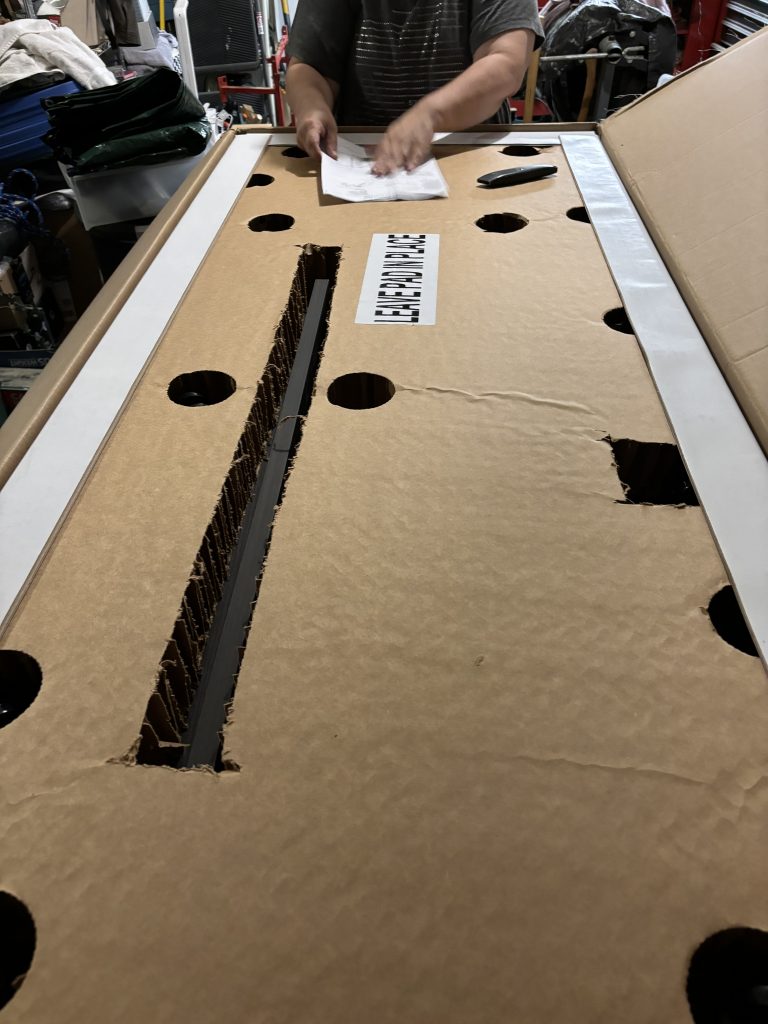
The instructions are fairly simple, but don’t go into a lot of detail. After removing it from the pallet and opening the top of the box, we discovered it was packed upside-down. The next instruction is to turn it over on its back. There was no indication what side was the back, but we figured it out after some peeking inside the box. (Hint: the long rectangular cutout is closer to the back.) Then you are to do one more turn to get it right-side up. As you can see in the picture below, there is a thick cardboard base pad that has holes in it to protect the wheels. Like the sticker says, you are supposed to leave this in place while turning it upright.

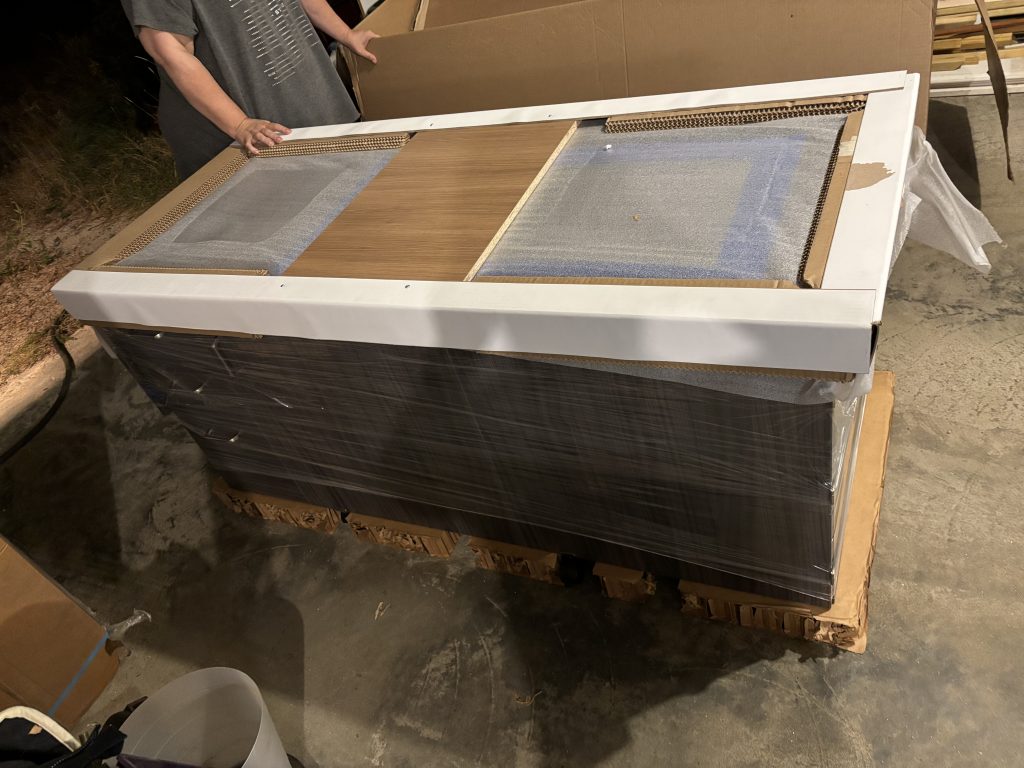
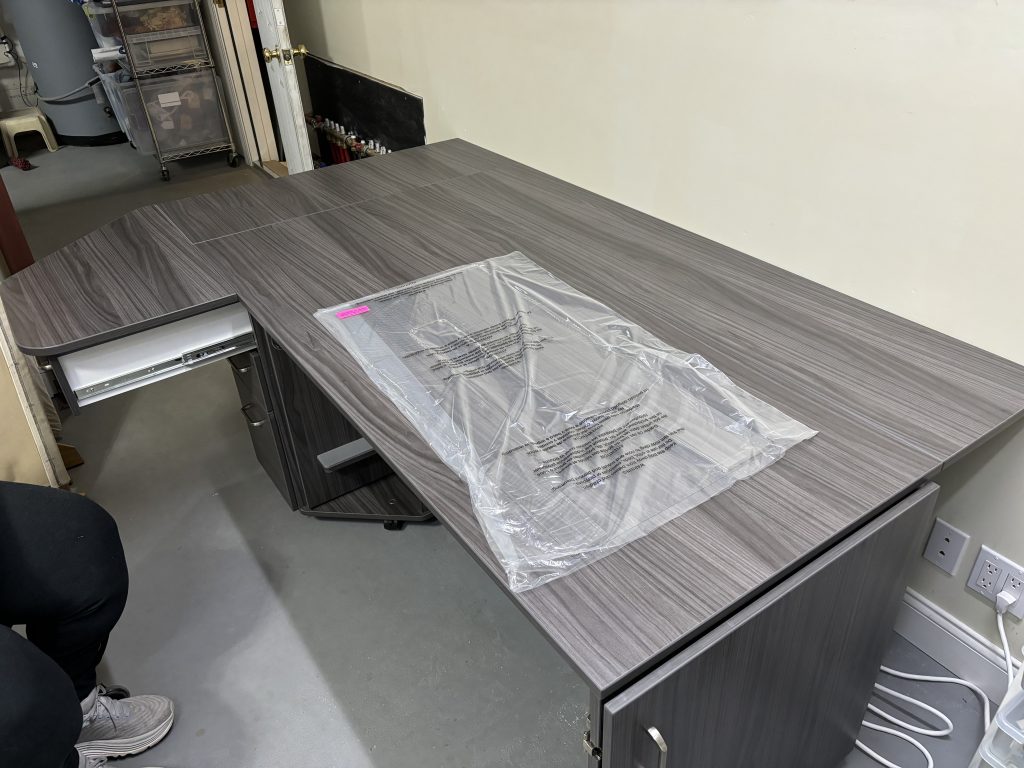
Once the table is upright, the outer box is lifted up off the table or cut off. There is some scrap wood (the tan woodgrain piece) screwed to the inner cardboard packing pieces. This packaging lifts off in one piece, revealing the table top.

The next step of the unboxing instructions proved to be virtually impossible for us. Removing the thick cardboard base pad underneath the table. The instructions say to lift the table up, and remove the cardboard pad. The problem is that the holes are a very tight fit on the wheels, and the pad does not come off easily. This is made even more difficult if you are also trying to lift a very heavy table off the ground at the same time.

Horn, if you’re reading this, please improve this step of the process in particular. If the cardboard base was cut into 4 pieces that could be removed individually as one end or corner of the table was lifted, that might work. Requiring lifting the entire table straight up and out of the cardboard pad is an unreasonable expectation. Also, labeling the packaging to indicate what was back of the table would have been helpful when following the step to lay it on that side.

Our solution was to lay the table on its back again, remove the cardboard base, and then stand it upright again. This turned out to be a mistake. As we did this, one of the wheels had swiveled so that it was facing out. That ended up putting most of the weight of the table on that one wheel, and breaking its mounting hole in one of the table ‘wings’ in the back. Getting replacement parts has to be done through the Bernina dealer. Horn is rumored to be fairly backed up with orders for these tables currently, and they want to use all the parts they have to make new tables, so there was a very long wait to get the parts.

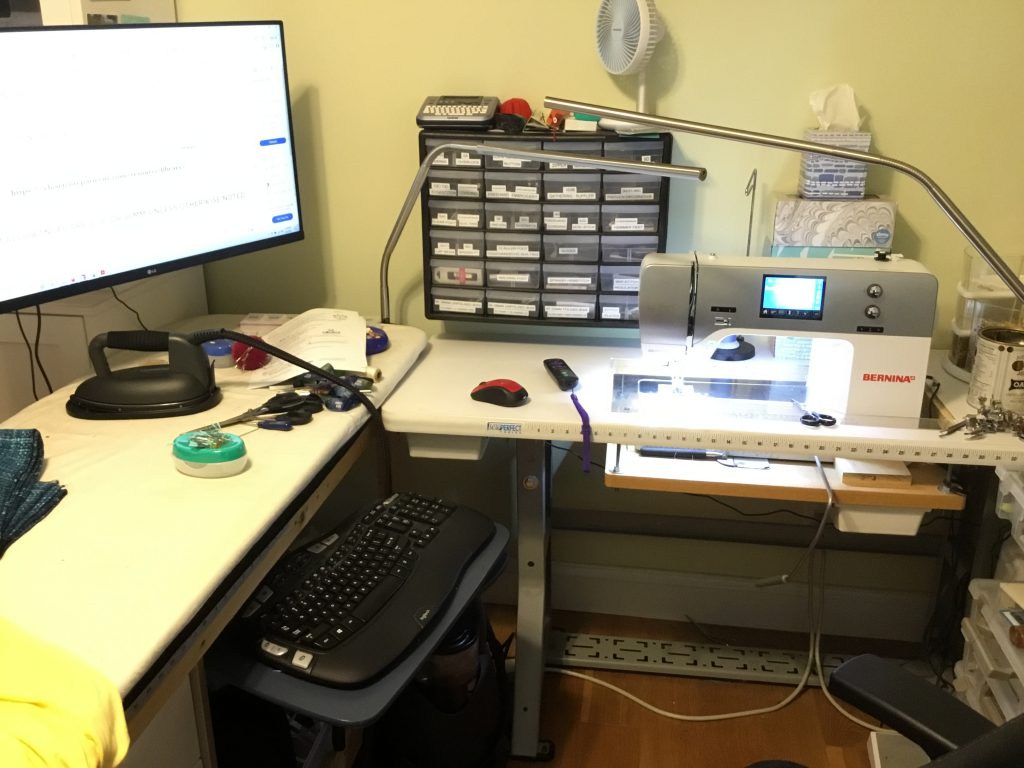
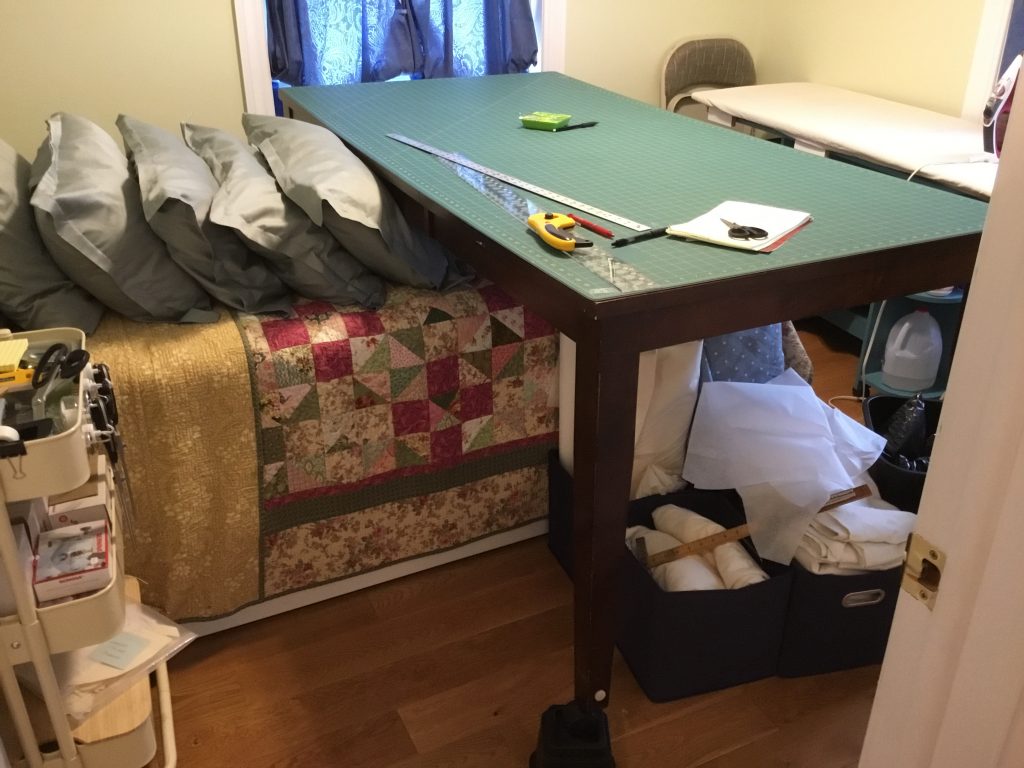
We then put the dollies back under the table, and rolled it into place in the sewing room without further incident. There are two shipping blocks screwed into the machine lift mechanism that must be removed before attempting to use the controls to move it.

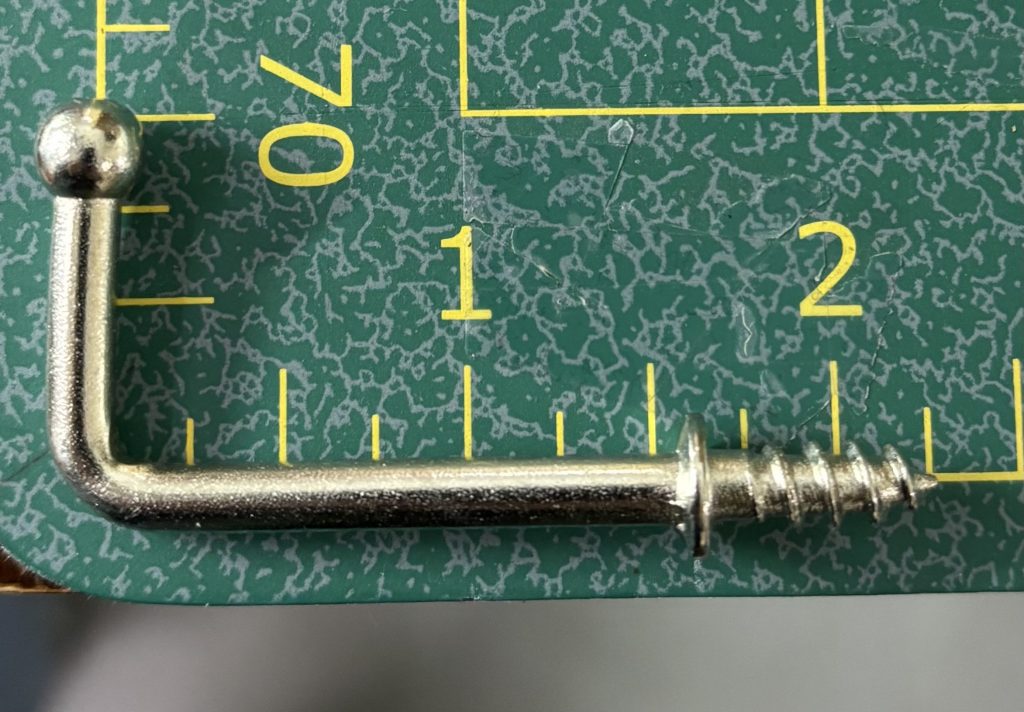
One item that ended up missing was the hoop hooks. These are 90* cup hooks with a ball on the end. They may have been somewhere in the packing materials, but if they were, we missed them. Look carefully for a small bag of 6 hooks before you get rid of the packing materials. The unboxing instructions do not mention them.

Here is the instructions and a copy of the Bill of Lading from the shipper showing the weight:

Posted on Leave a comment

Serger Needle Confusion…

I recently bought a new serger/coverstitch combination machine. My cover stitches were not consistent. I discovered my new machine called for and worked much better with ELx705 needles, which are not the same as 130/705 needles. I found ELx705 in sizes 80 and 90, with and without CF chrome finish, and with the option of a regular universal point or an SUK medium ball point. Schmetz’s color coding is so helpful but fails to distinguish an SUK serger needle from a regular universal point serger needle, so here is a tip to help you distinguish between them. The front groove extends farther up into the color coding on an SUK serger needle. The regular serger needle’s front groove ends below the color coding.

Needles are expensive but necessary and the right needle for the job is important. Typically SUK or ball point needles are recommended when sewing or serging knits. I could not verify this works for the Organ brand needles which offers both styles of serger needles but no color coding so I tend to go for Schmetz needles. Happy sewing.

Posted on Leave a comment

Sewing Organized

I have been garment sewing for almost 10 years. I have two small bedrooms to house my sewing, and one of the bedrooms still has to function as a guest bedroom occasionally. Over the past few years I have invested time and money to get my sewing space and stash into an organized state, and it has vastly increased the amount of sewing I do, and my enjoyment. I thought I would share of some of my discoveries.

I purchased most of the furniture from IKEA several years ago. I am very happy with my purchases. They have held up well, and are key to keeping my area neat. I use a narrow 9 drawer unit, that has 5 short drawers and 4 taller drawers which accommodates both smaller thread spools and the taller (serger) thread spools. This also keeps my thread dust free and out of the sun. In several tall narrow shelving units, I use art bin storage boxes, both the single and double sizes to contain my notions. I keep a label maker in my sewing room and each bin is labelled. All of my necessary notions are kept in these bins, such as zippers, bindings, elastic, buttons, ribbon, lace, pins and needles, tapes (twill, stay, and adhesive) and are within easy reach. Fabric is stored in several cabinets which sit on the floor with doors, or in closets on wire shelves to keep fabric dust free and out of the sun. The fabric is neatly flat folded on the shelves.

IKEA cabinets with doors and wire shelving in closet keep uniformly flat folded fabric dust free and out of sun.
IKEA shelving with labelled Art Bin Storage boxes contain notions. Bottom shelf holds interfacing, pattern paper, and several fabric bolts.
Big Board Ironing board on custom wood station with keyboard underneath, and monitor over. The Sew Perfect Table provides an extremely sturdy base for your sewing machine, eliminating vibration which can cause trouble. The swing lamps provide plenty of light in all my work areas. The hanging multi-drawer wall organizer for feet and machine accessories.

My husband built me a ironing station that fits a big board, and it sits alongside my sewing machine area. Just above my ironing station I have a monitor, and below the ironing board is a swing out keyboard and mouse station which allows me to access online materials while I work. With many patterns there are so many online resources such as: sew- alongs, videos, and tutorials which are so helpful to have in front of you while sewing. I have a cast off TV for light entertainment during those times when I am doing the mind numbingly boring tasks. I have two sewing machines (one embroidery equipped), and two overlock/coverstitch combination machines. One is always threaded for overlock and the other is threaded for coverstitch. I keep feet and other accessories in two small drawer units which are mounted to the wall, one for sergers and a second for traditional sewing machines. All of my machines sit on Sew Perfect Tables. These are very sturdy tables. I purchased rubber feet for them to protect the floors and cut down on vibration. These tables are not cheap or pretty but I will use no others. Sewing machines are investments which need to be protected. All my machines are plugged into grounded surge protectors. I have a single chair on wheels which allows me to easily move between ironing, sewing and serging. I purchased a set of rubber wheels which prevents the wheels from getting clogged with threads. I have three swing arm lamps which are installed in the corners, and can rotate to light up my different work areas. The variable speed ceiling fan is a blessing. In the closets I have a couple of wire shelving units and another IKEA narrow shelving unit. I also bought a couple of the metal rolling carts. I use magnetic hooks to hang scissors. One stays near the cutting table and is filled with tools needed to draft and cut patterns, such as pattern weights, tape, scissors, rotary cutters. The second remains near the sewing machine area and holds common items, such as pins, tweezers, stitch pickers, awls, clips, more scissors, common ironing items such as ham and organza ironing sheet, and basting threads.

My stash is organized into following categories: Bottom weight , Knits, Cotton and Cotton Blends, Linen and Linen Blends, Rayon and Synthetics, Fleece, Flannel. Any piece over 2 yards is catalogued. I snip a small sample and staple onto an index card with the following information: Category, Width, Yardage, Washed or Not, Stretch if any, Weight, special care instructions, where and when it was purchased if known. When I start a new project I can thumb through these cards and I will know if there is enough yardage before pulling fabric from the shelves. I found searching for fabric in my stash would cause large messes before this system. In time I will enter this into a database on my computer to help searching my stash even quicker. I also uniformly flat fold all my fabrics and store the fabric by category. Pieces smaller than two yards are neatly rolled and kept near the larger flat folds. This makes finding a piece of stash fabric very easy. This was time consuming, but I find I am using stash fabric more and more because I know what I have and exactly where to find it.

Index cards containing fabric sample and information, sorted into fabric categories.

I typical purchase PDF patterns from indie designers. I print them on A0 paper. I will trace off of the printed A0 pattern, onto a pattern paper. Any modifications are made to the pattern paper pieces, thus preserving the original print out. I file the A0 print outs separately alphabetically by company name, and use clear plastic file folders to keep my traced off pattern pieces, instructions, or notes. I file them in magazine file boxes, again labelled by garment type: Dresses, Skirts, Pants, Blouses, Knit Tops, Knit Bottoms, Jackets/Outerwear, etc.

Repurposed dining table with cutting mat on top, straddling a twin bed. Second ironing station in far corner. The table is up on bed risers and can be slide over to uncover bed and over the top of the ironing station.

One of the biggest necessities for me was the need for a cutting table. In the second bedroom is a twin size bed, that can convert into a king size bed, another IKEA unit. I purchased a used dining table from a thrift shop that had a few leaves, and four legs that are on the outside corners. The table straddles the twin bed, giving me almost complete access to the table edges. I bought bed risers to raise the table up to make cutting and drafting more comfortable. I splurged on a large cutting mat for the top of the table. In this room I have a second ironing board which is another big board that sits upon a fold up rolling unit. This allows for ironing large pieces and is close to the cutting table. When guests come I carefully slide the dining table down past end of bed, which can fit over the top of the ironing station. The ironing station could also collapse by pulling the big board off and putting it in closet. Guest have access to a nightstand, bed, the top of the cutting table, and even a small amount of closet space for hanging. A floating shelf above the head of bed is great place for ruler and drafting supplies. A fourth swing arm lamp provides extra light.

Magnetic hooks on the rolling cart make items even more accessible.

Assembling this work area took a lot of time and research. I was patient and often bought second hand, or from thrift shops, and budget stores whenever possible. I saved my money to buy quality machines, fabric, and notions. With the rising costs, it is such a time and money saver to be organized. I dreamed of retiring and throwing myself into my hobby of sewing and all the planning and preparation has paid off. I am not affiliated with any of the following products or manufacturers, but will share some of the product names that have served me well.

For scissors I use Kai scissors almost exclusively. For thread I purchase them online through Wawak and Superior Threads. Sewing machines are Bernina. Overlock/Coverstitch machines are Baby Lock. Irons are tricky and frankly I have never found one that I would recommend. That said I currently have a Reliable Steam Iron (distilled water), an Oliso (tap water), and a Laura Star steam iron (tap water and very $$$). Should enough time pass without failure I will update this post, but it is still too soon to tell. I tried many other brands and they all disappointed (Rowenta I so wanted to love you). My lighting is Slimline 3 Daylight lamps from Daylight Company. Many pieces were from IKEA. The ironing boards are from Big Board Enterprises. As for fabric, I purchase lots of dead stock. When I have perfected a pattern I then splurge on expensive fabric, but in the meantime I keep lots of affordable stuff around to practice on. My favorite online is FabricMartFabrics.com. I buy at a local selvage operation occasionally. I purchase most of the good stuff directly from local sewing and fabric shops to help keep them going. I have had little success thrifting fabrics, but many folks post great finds. Again, I have no affiliation with any of these sellers. Many of these purchases were made over the years so do your own research before investing. Things have may have changed over time. I just offer these as a place to start.

I hope these ideas can help make your own sewing space more organized and efficient, and leave more time and money for the fun stuff. Happy sewing!